Sticker shock at the cabinet showroom is real. When my builder quoted nearly $14,000 for mid-range units, I knew there had to be a smarter path. A weekend deep dive into woodworking forums proved it: do it yourself kitchen cabinets can look every bit as polished as factory lines while costing 50 to 70 percent less. If you can measure, drill, and follow a cut list, you can replace contractor invoices with the satisfying sound of pocket screws tightening into fresh plywood. This guide keeps the process simple and senior-friendly, covering everything a determined homeowner needs to save thousands and still gain undeniable style.
1. Why DIY? Cost, Custom Fit, and Style Flexibility
Factory prices climb fast because you pay for labor, logistics, and big-box markups. A single linear foot of mass-market cabinetry averages $200–$250; upscale shops double that. In contrast, a sheet of ¾‑inch cabinet‑grade plywood hovers around $70 and yields roughly four linear feet of carcass material. Even after adding screws, hinges, slides, and paint, most DIY kitchens land near $90–$120 per foot—serious savings that can fund new appliances or quartz counters.
Beyond money, building your boxes means every inch fits like it was carved for your space. Odd corners, six-inch fillers, and bulky soffits disappear when you dictate exact widths and heights. And because style decisions remain in your hands, you’re free to create slab doors for a modern loft, classic shaker frames for cottage charm, or frameless Euro cabinets for a sleek condo—all without premium “custom” surcharges.
You can visit JalBiteBlog to read interesting articles on many topics. The site has useful tips and new content every day. Everyone can find something helpful or fun to read on JalBiteBlog.
2. The Simplified Game Plan: Measure, Sketch, Shop
Begin with a tape measure, not a saw. Jot wall lengths, mark plumbing and electrical points, and note appliance gaps and toe-kick height. Precision here prevents headaches later. Use free graph paper or an online planner to sketch boxes at their true scale, labeling each one: B1 sink base, W2 wall cabinet, P1 pantry, and so on. From that sketch, make a cut list—essentially a recipe of sides, tops, bottoms, and back panels.
A budget hardware list looks like this: two sheets of ¾‑inch plywood per base cabinet run, ¼‑inch plywood backs, edge banding tape, pocket‑hole screws, three soft‑close hinges per door, and one full‑extension slide set per drawer. Total it up and compare against retail quotes; the contrast is usually jaw-dropping.
Tool requirements are surprisingly short: a circular saw with a guide rail for straight cuts, a pocket-hole jig for joinery, a drill/driver, four long clamps, and a random-orbit sander. Many libraries and community makerspaces loan these tools; neighbors often lend clamps for a weekend. By renting or borrowing instead of buying every gadget, you’ll preserve the budget DIY kitchen remodel spirit.
3. Build & Install in Four Straightforward Steps
Step 1: Carcasses. Cut two sides, a top, a bottom, and a back for each cabinet. Use the pocket-hole jig to drill edge holes along the top and bottom panels, then glue and screw them between the sides. Square the box before tacking the back in place; a square carcass means doors will hang straight later.
Step 2: Doors and drawers. If speed matters, opt for slab doors: cut to size, iron on edge banding, sand, and paint. Feeling confident? Build shaker doors with stiles and rails routed for a recessed plywood panel. Drawer boxes come together with simple butt or rabbet joints from ½‑inch ply, glued and nailed. Install soft-close slides—kits start under $20 and instantly upgrade the finished kitchen.
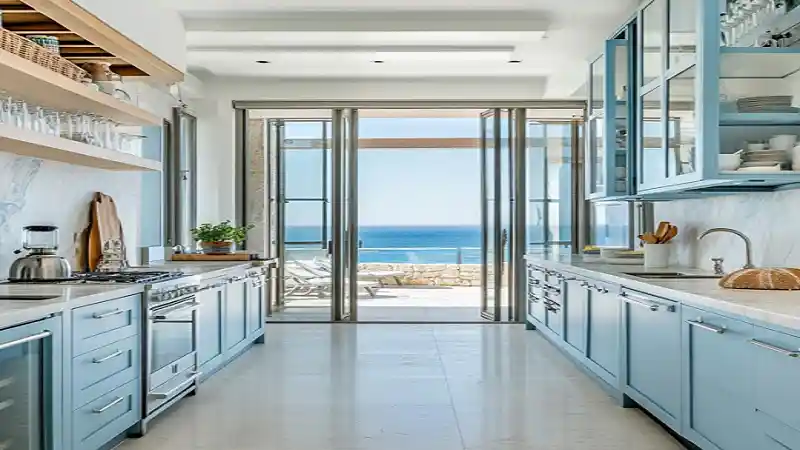
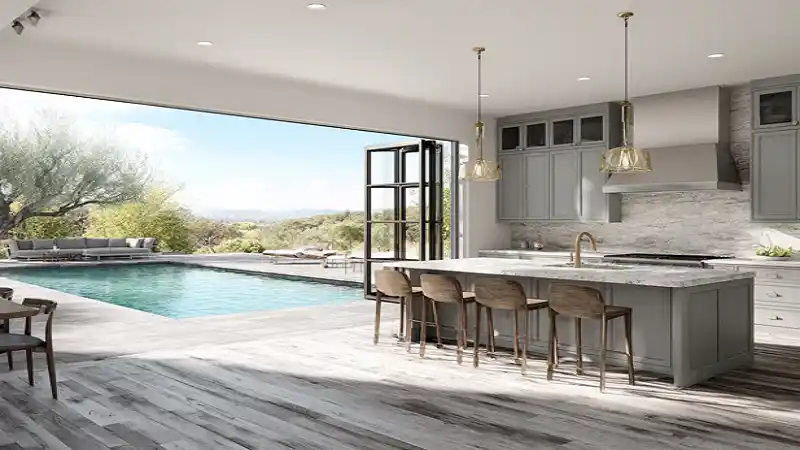
Step 3: Finishes. Sand everything through 120-, 180-, and then 220-grit. Apply a high-bond primer, let it cure, and follow with two thin coats of cabinet enamel or furniture-grade stain. Satin sheen hides minor bumps while reflecting just enough light to brighten the room. Pick classic hues—soft white, driftwood gray, warm navy—that won’t date quickly.
Step 4: Installation. Snap a level line 34½ inches from the floor. Shim and anchor the first corner base cabinet to studs, confirm level front-to-back and side-to-side, then add each neighboring box, clamping faces flush and screwing through pre-drilled side holes. Hang wall cabinets from a temporary ledger board at 54 inches above the floor, anchor to studs, and remove the ledger. Finish by aligning doors with hinge adjustment screws until reveals are even and drawers glide smoothly.
4. Finishing Touches That Elevate the Look
Small upgrades put a professional polish on budget custom cabinets. Swapping plain knobs for matte-black bar pulls or brushed-brass cups costs little yet signals designer intention. A butcher-block counter is wallet-friendly and pairs beautifully with painted doors; for spark, search stone yards for discounted quartz remnants sized just right for a galley run or island. Peel-and-stick subway tile backsplashes install in an afternoon and bounce light around the room, while plug-in LED strips under the uppers provide task lighting and high-end ambiance for under $60.
Conclusion
A few measured cuts, a weekend of assembly, and steady patience transform raw plywood into stylish, do‑it‑yourself kitchen cabinets that rival showroom sets—without crippling your savings. Each box you build boosts confidence; each dollar you keep funds the next upgrade on your dream list. Start with one base cabinet. Master the rhythm of measure-cut-assemble. Before long, you’ll stand in a kitchen crafted by your own hands, proud that you saved thousands and gained style in equal measure.
Learn more: Home Stylish


